How to repair the plastic side panel of a pickup truck flareside ?
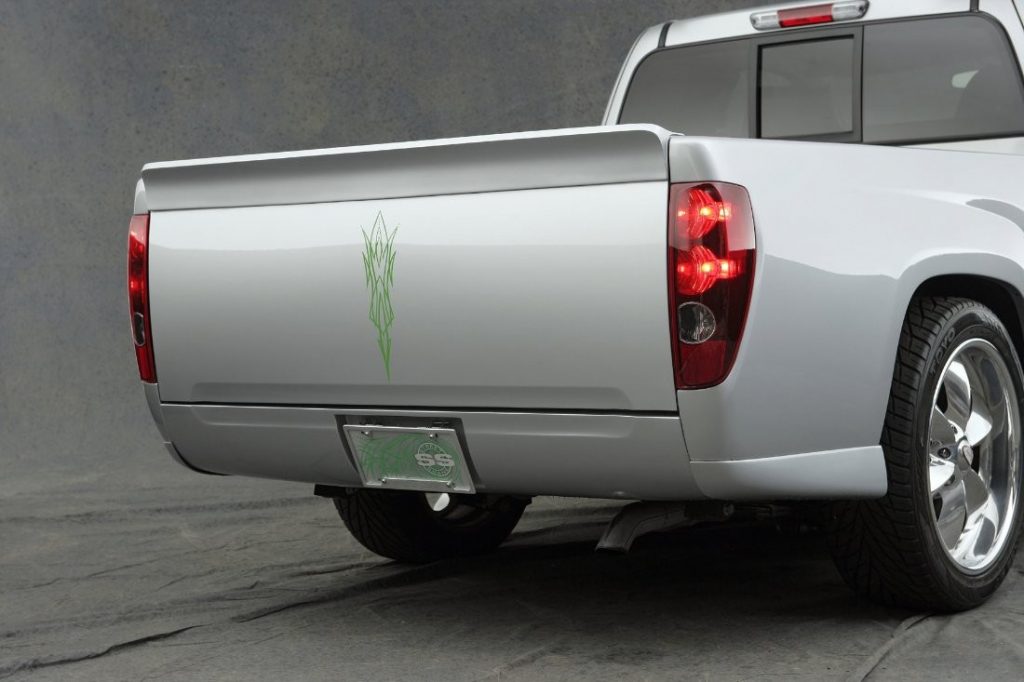
In this blog post, we will show you how to repair a thermoset polyurethane part using the airless plastic welder. This is a urethane Chevy pickup bed side panel with a chunk missing. It also has a crack and some smaller areas missing. We are going to take a section from a scrap pickup bed and splice it into the missing area. First, clamp in the donor section behind the missing section. Once it is clamped into position, use a marker to trace out the edges of the missing area onto the donor section. Cut the patch out of the donor section using a jig saw. Trim the edges as needed to get the best fit possible with the patch panel. Use aluminum tape to tape the patch panel into position. V-groove about halfway into the urethane with a die grinder. We are using a carbide burr from Polyvance in the air die grinder. The airless welder is used to weld urethane. When welding urethane, it is very important to set the temperature of the welder properly. If it is too hot, the rod will boil and turn watery.
Set the welder at the “PUR” setting so that the rod comes out the bottom of the welder tip clear and melted, but not smoking and bubbling. Hold the welder slightly off of the surface to avoid overheating the base material. Because the fender is made of thermoset urethane, it is not meltable. So when we repair urethane with the airless plastic welder, we are not actually “welding” the plastic; instead, the repair is more like a braze or a hot melt glue. The urethane welding rod has very good adhesion to the plastic and makes a very strong repair. Fill the v-groove with melted urethane welding rod. Go slowly and press down on the welding rod to force the rod down into the pores of the plastic.
If you are doing a long bead like this, you may need to increase the temperature of the heating element to compensate. Maintain a temperature that melts the welding rod completely, but not to the point that the rod turns to a watery liquid. Once the weld cools, peel the tape from the other side. V-groove the backside and prepare to weld it. Melt the welding rod into the v-groove again on the backside. Notice that we are reinforcing the edges by grinding a v-groove along the edge and welding there, too.
Apply more welding rod on the backside as needed to reinforce. Once the weld is completely cool, grind the weld slightly flush with a 50 grit Roloc disc. Use 80 grit in a DA to feather back the v-groove and paint to prepare the plastic for filler. Mix the 2000 Flex Filler epoxy in a one-to-one ratio. Mix completely until it turns a uniform gray color. Wipe the 2000 Flex Filler over the welded area. Do not use polyester glazes over urethane, as they do not have the necessary flexibility. Sand the Flex Filler with 80 grit in a DA sander. Do final profiling with a sanding block. Once you have achieved the final shape, sand all over with 180 grit paper and feather the paint back and blow the dust free. Finish the repair by spraying one of Polyvance’s flexible waterborne primer-surfacers..